BigSky plugin activation
Let's get started.
We can’t wait to hear what you come up with using BigSky in your DAW sessions, but before you get started you’ll need to take a few small steps first. This page will help get you sorted out in no time, so read on.
Looking to purchase a license? Click HERE to buy one now.
Looking for 7-day free trial activation instructions? Click HERE to read.
Here Are The General Steps In The Process:
- Download and install the iLok License Manager software.
- Create an iLok user account (Step A below), or use an existing account (Step B below), and redeem your activation code.
- Download and install the BigSky plugin.
- Bring the verb to your sessions!
Step 1: Download the iLok License Manager software
Click HERE to download the iLok License Manager software (you’ll need to choose either the Mac or Windows version on the ilok.com page).
Unzip the package by double-clicking it, and follow the prompts to install the software.
Then move on to the next step.
Step 2A: Create A New iLok Account.
NOTE: If you already have an iLok user account, click HERE to navigate to those instructions instead, or scroll down the page.
(1/9) Once you’ve installed the iLok License Manager software, boot it up for the first time and click the large question mark icon in the upper left-hand corner labeled “Sign In”.

(2/9) In the resulting popup window, click the link for “Create New Account” in the lower right, which will automatically direct you to the ilok.com website to sign up for an account (do NOT make a new account if you already have one).

(3/9) Choose a User ID that you‘ll remember, and fill in the requested contact and security information.
Once you’ve pressed the green button at the bottom of the page labeled “Create Account” you’ll receive an email with a confirmation link, so click the link to confirm and sign in to the account when prompted by the email.

(4/9) Go back to the iLok License Manager software on your desktop and click the “Sign In’ button on the top left again, only this time, sign in using the credentials you chose when you created your account. Your username should now appear at the top left, showing that you have 0 licenses in your account.

(5/9) Before using the BigSky plugin you’ll need to decide on which authorization method you’d prefer to use – either a Cloud session or a physical iLok key. If you’ve not used an iLok before you might prefer to start out using a Cloud session, otherwise you’ll need to purchase an iLok (which can be done through your favorite plugin retailer or directly from www.ilok.com).
Under the File menu in License Manager, choose “Open Your Cloud Session”. This is basically a virtual USB dongle where you can store your authorizations, and the BigSky auth will be placed here once your code is redeemed.
Important: Remember that your computer must be connected to the Internet when using this option to authorize and use BigSky.

(6/9) Once the Cloud session is enabled, you will see an icon in the “Local” area on the left side of the iLok License Manager software labeled “Cloud” underneath your username.

(7/9) At this point either click the small button with two dots and an “I” directly to the right of the search bar on the top right to redeem your code, or choose “Redeem Activation Code” from the “Licenses” menu.


(8/9) Select the entire Activation Code from the email you received from Strymon when you purchased the BigSky plugin, or from your user account on strymon.net, and paste it into any field in the “Enter Activation Code” window. Press the “Next” button to confirm your code.

(9/9) An authorization for BigSky will be placed in your account, and it needs to be moved to your Cloud session dongle in order for it to authorize the plugin when you run it in your DAW.
Using your mouse, drag the authorization from the main window in iLok License Manager to the Cloud icon on the left hand side in the Local area.
Confirm that the authorization is now in the Cloud, and quit iLok License Manager.
Now you’re ready to install the plugin! Click HERE.

Step 2B: Use An Existing iLok Account.
(1/2) If you already have an iLok key and prefer to use that authorization method, or if you are going to need to use BigSky on a computer that isn’t connected to the Internet, you’ll want to move the “auth” to your physical iLok once it appears in your account.
If you are going to be using BigSky on a machine that is always connected to the Internet, you can use a Cloud Session as the final location for the auth.
In either case, boot iLok License Manager and log in to your account.
Click the small button with two dots and an “I” directly to the right of the search bar on the top right to redeem your code, or choose “Redeem Activation Code” from the “Licenses” menu.


(2/2) Select the entire Activation Code from the email you received from Strymon when you purchased the BigSky plugin – or from your user account on strymon.net – and paste it into any field in the “Enter Activation Code” window. Press the “Next” button to confirm your code.
An authorization for your BigSky plugin will be placed in your iLok account, and it needs to be moved to either your Cloud session or physical iLok dongle in order for it to authorize the plugin in your DAW.
If you’ve decided to move the auth to your physical iLok key, drag the authorization from the main window in iLok License Manager and drop it on top of your iLok’s icon on the left-hand side in the Local area.
If you’re going to use a Cloud session instead, drag the authorization from the main window in iLok License Manager to the Cloud icon on the left hand side in the Local area.
Once you’ve confirmed that the authorization is now either in your Cloud session or on your physical iLok, quit iLok License Manager.
Continue below to install the plugin.

Step 3: Download the BigSky Plugin Software Installer.
Download the installer for your operating system by double-clicking the install icon, and follow the prompts to install the software.
Windows
Windows 10
Mac
OS Big Sur, OS Monterey

This completes your activation. Enjoy!
Try BigSky Plugin For Free
These are the instructions for activating a free trial. If you already have an activation code, click HERE.
To get your free trial of the BigSky Plugin, download the BigSky Plugin for your corresponding OS. Then, follow the instructions below.
Windows
Windows 10
Mac
OS Big Sur, OS Monterey

Instructions
To try the BigSky plugin for free, follow these steps to activate a fully functional seven-day trial:
1. Download and install the iLok License Manager software HERE.
2. Launch the iLok License Manager application (you don’t have to keep it open after first launch).
3. Create an iLok user account (or use an existing account).
4. Download and install the BigSky plugin (HERE).
5. In your DAW, launch the BigSky plugin and then click the Try button.

6. Enter your iLok.com User ID and password in the fields below, and click Next.

7. Click OK to open an iLok Cloud Session.
This will give you the option of activating your trial to the iLok Cloud.
Note: If you currently have an iLok Cloud Session open, you may not see this dialog or the following confirmation window.

8. Once the iLok Cloud Session has been successfully opened, click Next.

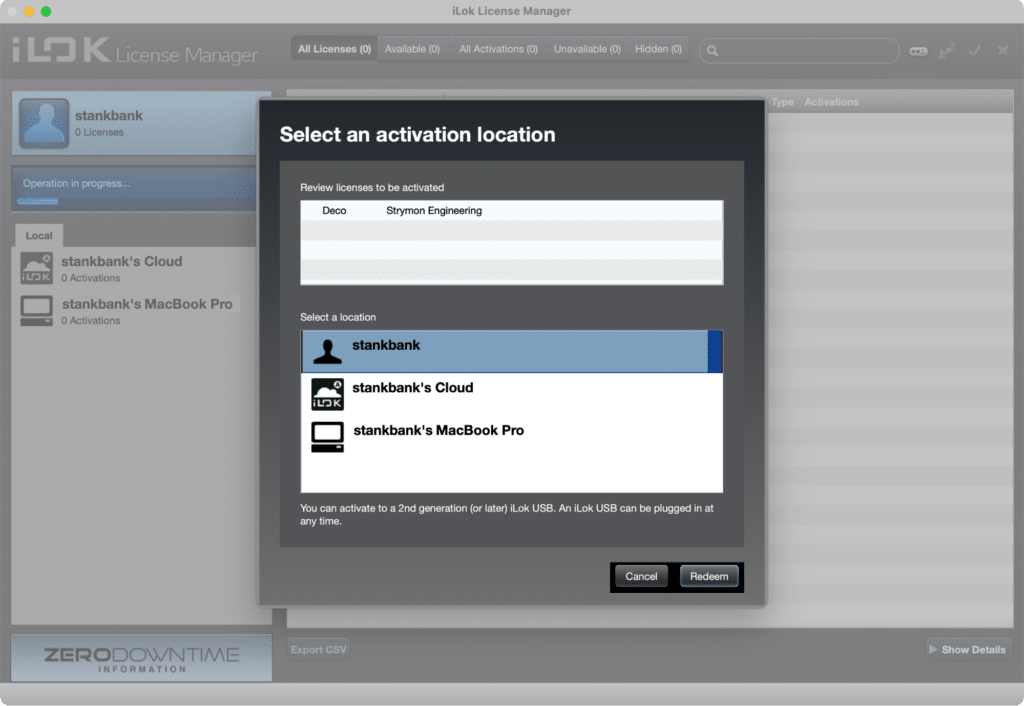
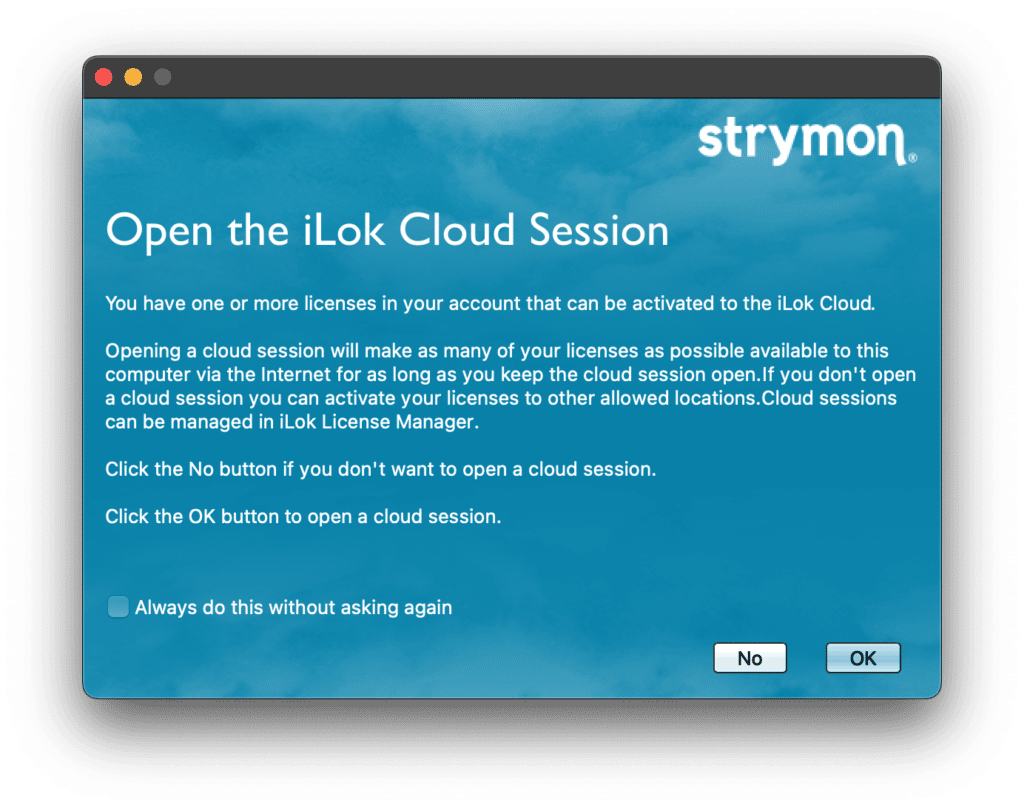
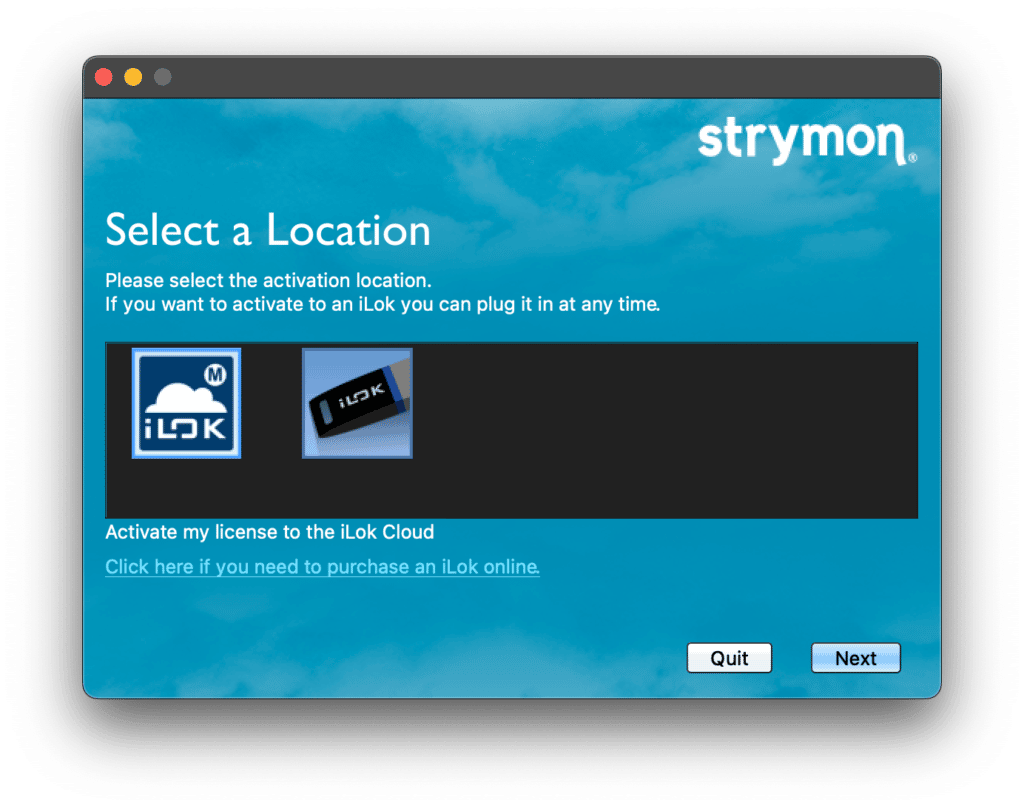
9. Select a location for your trial license.
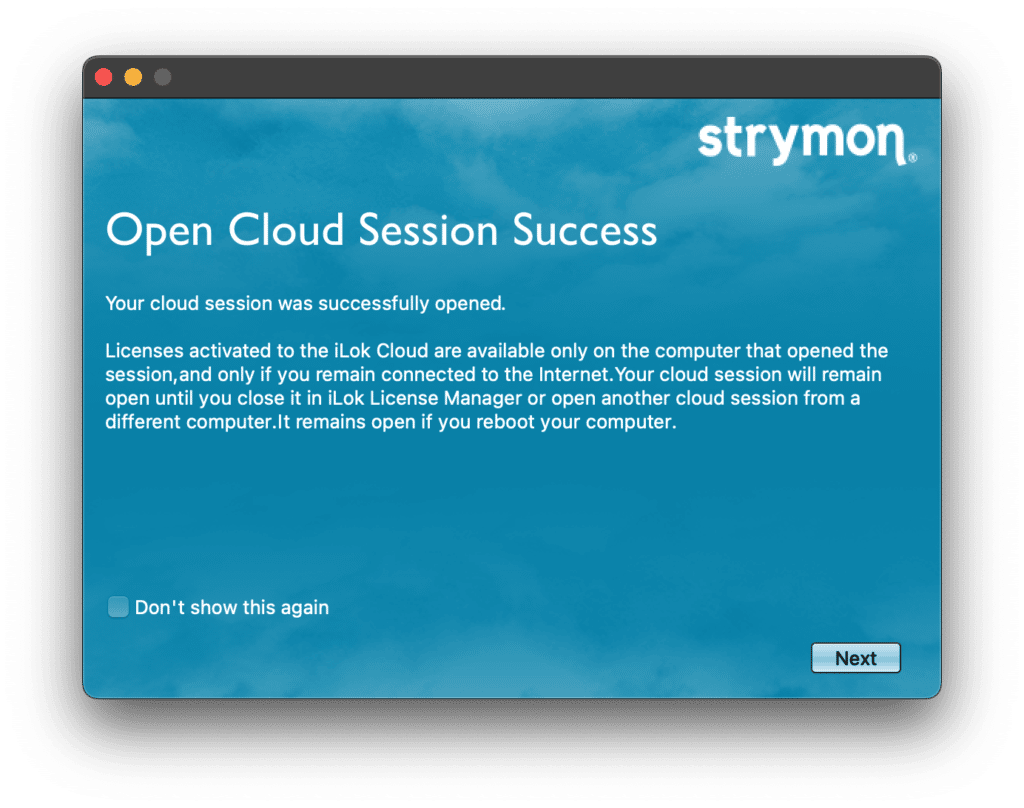
If you choose iLok Cloud, your trial license will work with any computer connected to the internet.
If you select an iLok, your license will work with any computer to which that iLok is connected.
When you have made your selection, click Next.
Note: If no iLoks are connected to your computer, you will only see the iLok Cloud option below.

10. When your trial license has been activated, click Continue and BigSky will open in your DAW project.
Your trial license will function without limitation for seven days.

You Are Now Ready To Start Using BigSky!
Need Help With Your Activation?
If you need help with any part of downloading, activating, or using the BigSky Plugin, please do not hesitate to email us at [email protected] for further assistance.
Click HERE to view our main support page and or HERE to read FAQs about BigSky Plugin.