
TimeLine MX Has Arrived!
The Next Generation Is Here. Raw computational power meets innovative design and consummate sonic craftsmanship, bringing you stunning studio-quality delays, a host of professional features
Financing Available Through ![]()
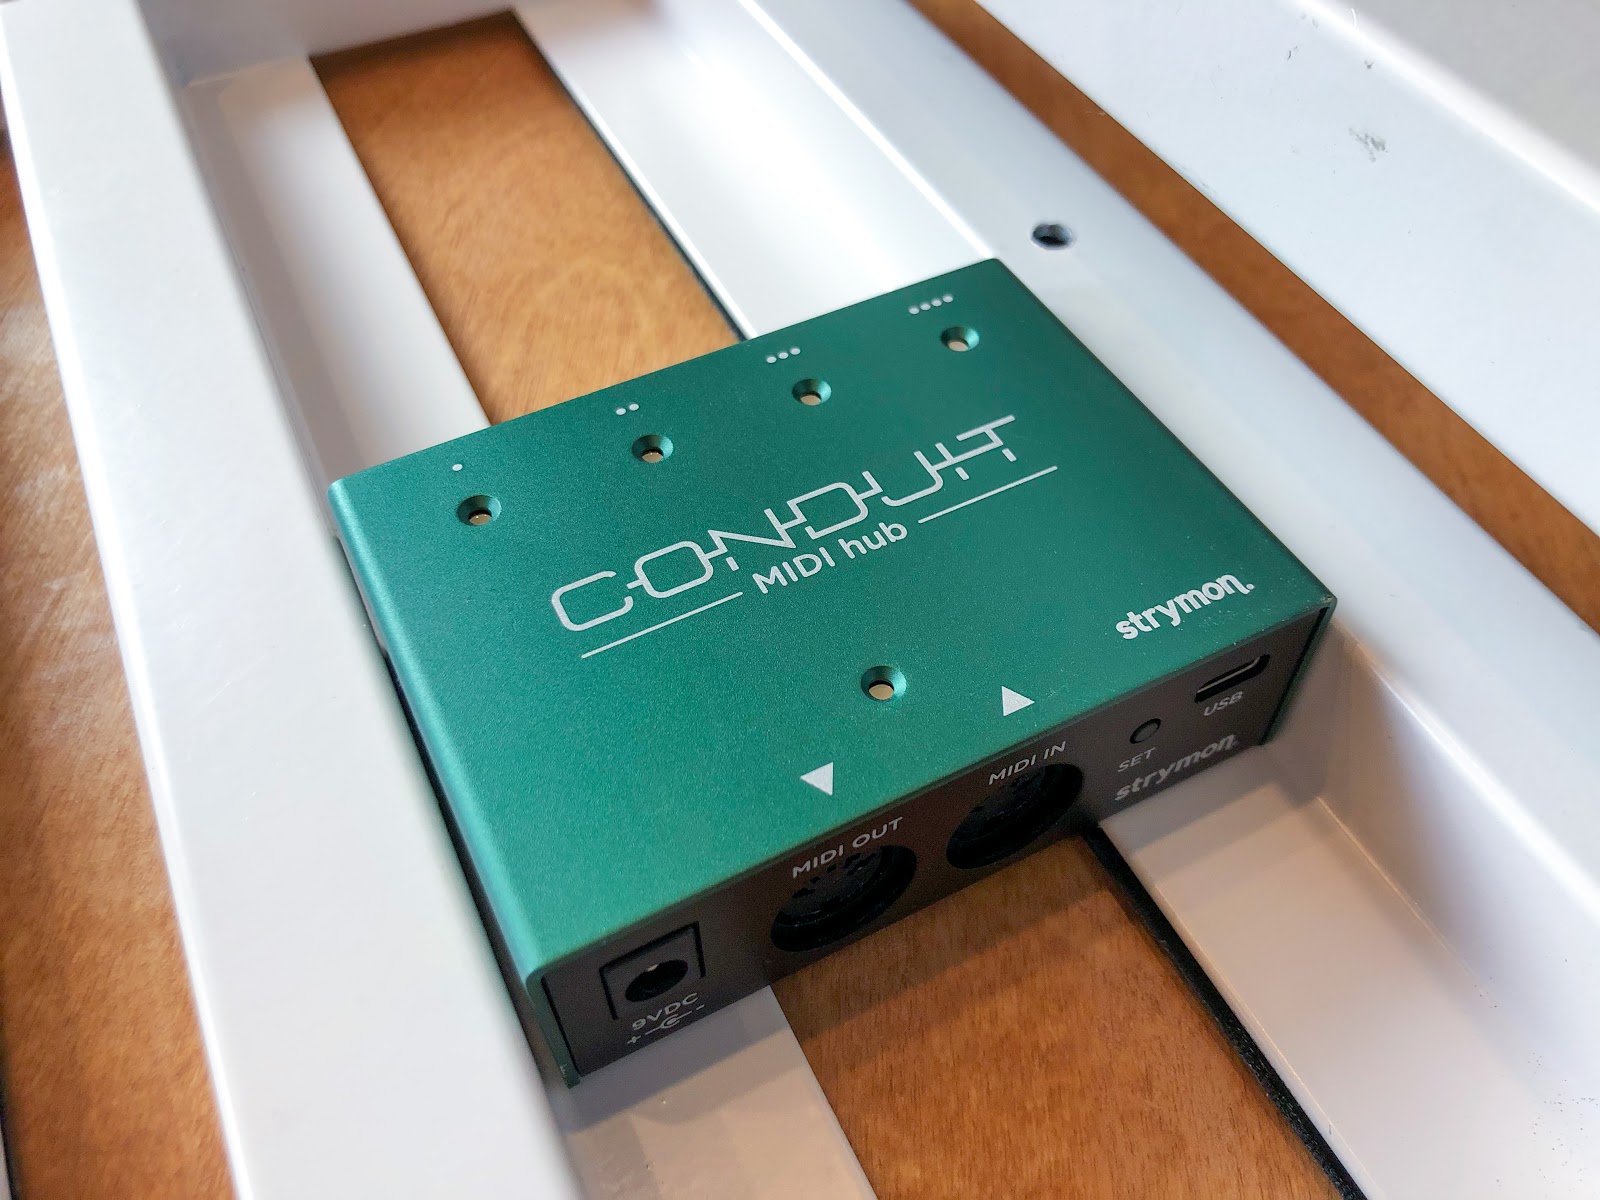
Have a Conduit and looking for the best way to mount it to your board? You’re in the right place! We’ll be talking today about how to mount your Conduit to your board. We’ll give you a quick walk-through, as well as some additional helpful tips to make the mounting process even easier than it already is.
Before we begin, we should note that much like it’s similarly sized power supply cousin, Ojai, Conduit is compact and light. This allows it to be easily and quickly mounted using good quality fastener tape such as Dual Lock™ or Velcro®!
This might be a good option if you’re experimenting with the placement of Conduit, need to move it between boards often, or just prefer not to drill through your pedalboard. If you need a more secure and permanent mounting method, then read on for our walk-through on using the drill template to mount your Conduit.

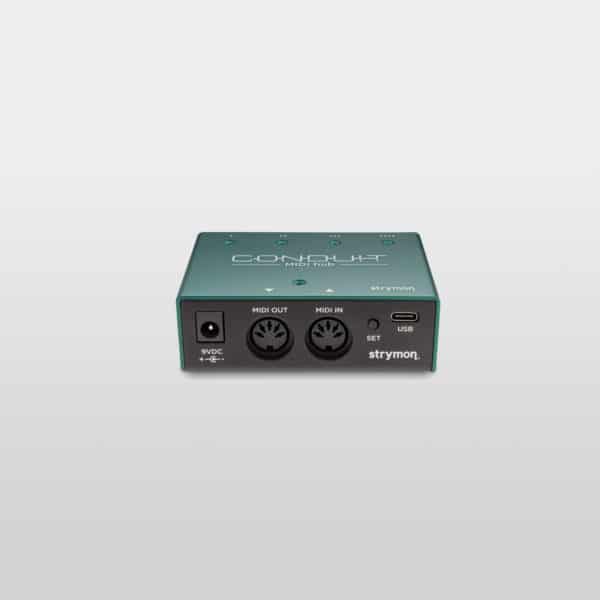
To make installation as easy as possible, we included built-in threaded hardware on the bottom of Conduit. No bulky brackets—simply decide where you want to mount your Conduit, drill the mounting holes using the included mounting template, and then install your Conduit with the included screws. Let’s break it down step by step:
STEP 1: CHOOSE YOUR MOUNTING LOCATION
First step of the installation process is deciding where you want to place your Conduit.
Whether you want to mount Conduit wherever it fits on your current board, or maybe design your board around it as a central hub, or cleverly hide it underneath your board with your Ojai or Zuma, it’s a good idea to try to connect all your pedals and their cables just to get a good idea of how everything fits.
This will give you an idea of what the best location to mount your Conduit may be, and will also let you know if you need any longer or shorter cables.
Once you’ve settled on a location, tape the included Drill Template logo-side-up on the location you want to mount your Conduit to.
If you’d like to print out a new Drill Template, here is a link to download a PDF.
Note: Make sure to print the template at 100% size. The template includes a scale that can be measured to confirm the size accuracy is correct.
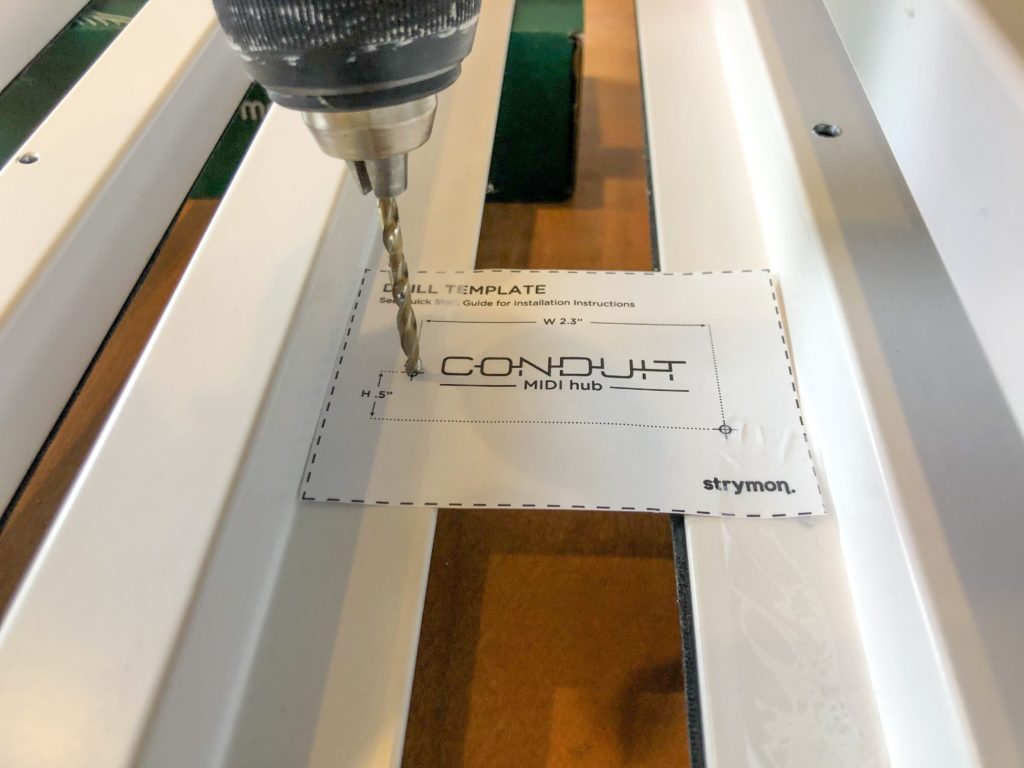
STEP 2: DRILL HOLES
With the drill template taped to your desired location, go ahead and use a 1/8” (3mm) drill bit to drill through the template and your board to create the holes that will be used to mount your Conduit.
Use a drill bit that fits the material you will be drilling to — if you’ll be drilling through a metal board like a Pedaltrain, use metal drill bits, or if you have a wooden board use drill bits specifically for wood.
Be sure to start slow and steady to make a clean hole. As shown in the photo below, the Conduit box actually makes a nice support with which to angle your board and make drilling easier on a flat surface.
If you’re like me and mess up your included drill template, or just need another one, fear not! You can download another here. Remember — Measure twice, drill once!
STEP 3: ATTACH CONDUIT
After drilling the holes, you can remove the drill template and place Conduit over the holes.
Flip over your board while keeping Conduit in place and use the newly drilled holes to insert the included #4-40 screws (3/8”) through your board and into your Conduit and secure them using a Phillips screwdriver.
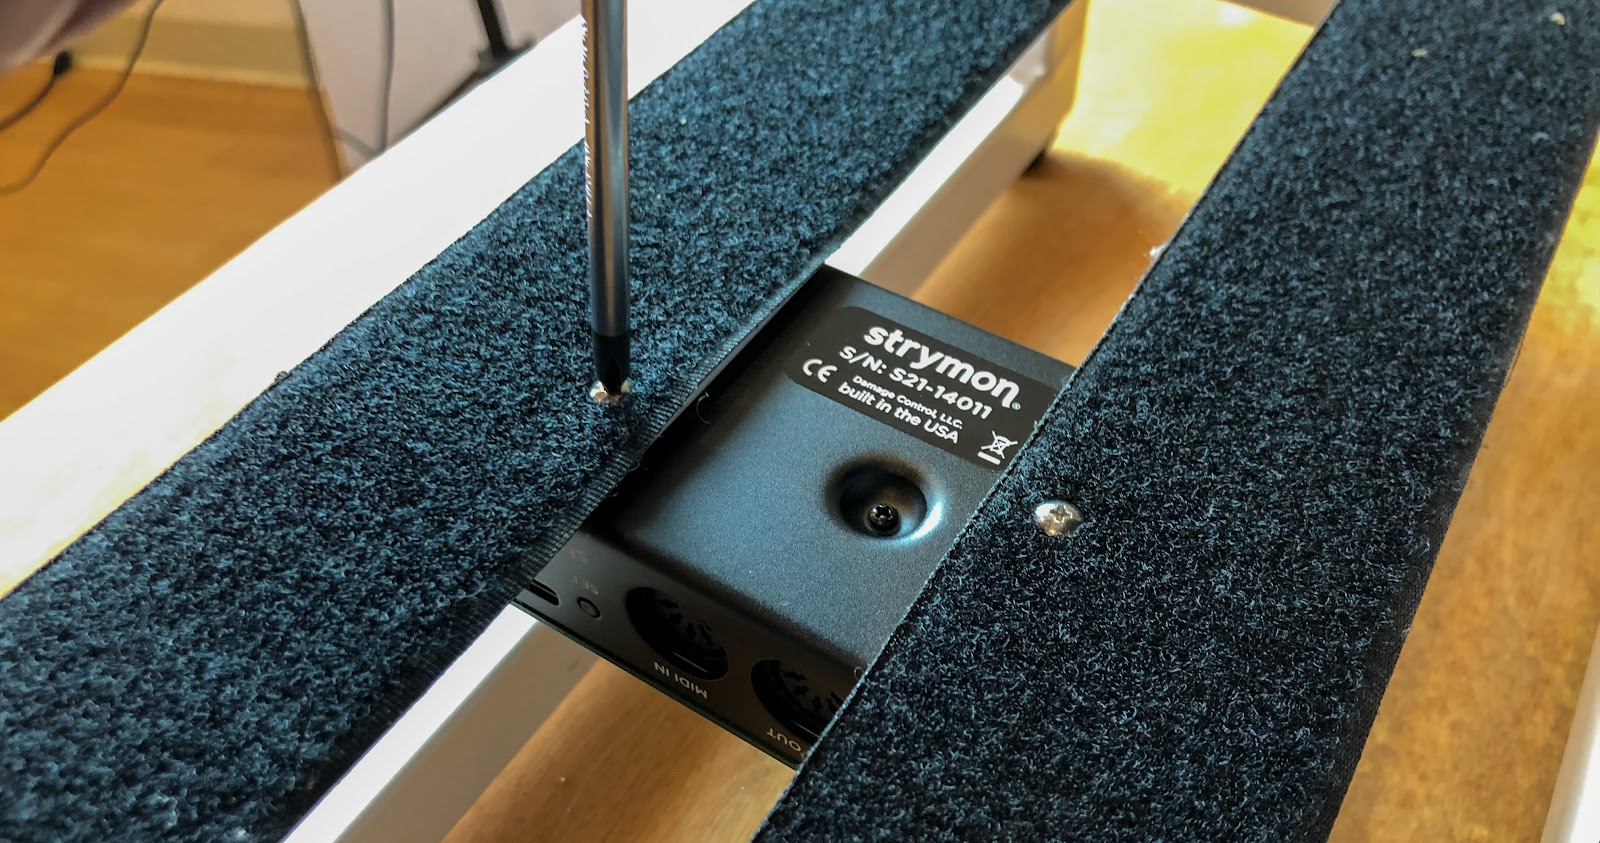
And it’s that easy! Now connect all your cables once again, and the rest of your pedals if you removed any, and you’re good to go!
Hopefully this walk-through made things a bit easier, and as always feel free to reach out to us at support@strymon.net if you have any issues or questions!
Have an idea for a blog or a question about Strymon, our products, or effects in general? Let us know!

The Next Generation Is Here. Raw computational power meets innovative design and consummate sonic craftsmanship, bringing you stunning studio-quality delays, a host of professional features

Our Analog Prototype Giveaway has drawn to a close. Thanks so much to everyone who took the time to create original artwork and mail it

Live From Los Angeles! In the LA area and looking for something fun to do this weekend? Bring a guitar if you’d like and come
3 Responses
Nice, simple, and clean.
Hi,
Well….yes… THANK YOU. Nice, simple and clean.
Other good news – (I just bought a Conduit) – it’s insanely light – and with the 3M loop material alone, it would never come off, even if you shook your pedal board.
It seems………..that since it’s NOT an effects pedal in and of itself; the smartest place for it is underneath your board; THUS freeing up precious space for more Strymon pedals.
Other bad news — it DOESN’T SUPPLY POWER through the MIDI OUT?
Look at the pictures: I plug my WIDI Master into any of my flagship pedals (Timeline, Mobius or Big Sky), and I get power
I plug my WIDI Master into the Conduit – and I get NO POWER? (picture links below)
https://irisicom.net/NoStrymon/SomePowerWIDI.png
https://irisicom.net/NoStrymon/SomeDoNotWIDI.png
Strymon – PLEASE you’re killing me here; we NEED wireless, and we need it yesterday. Bluetooth has been around for years. People like Eventide have wireless for their pedals. I go out an spend a C note ($100) on this device to WIRELESSLY control my Strymon pedals, and then find there’s no power through the MIDI OUT?
This is soOOOOOooOOOO frustrating!!
Churned in CBus
Sorry to hear you’re frustrated, AJ. Currently, none of our products support Bluetooth MIDI hardware, as they are not equipped to provided the necessary power for these devices to work. I’ll be sure to share your feedback with the team, and feel free to email support@strymon.net if you have any more questions or feedback.