[direct link]
Strymon Non-Transferrable Limited Warranty
Warranty
Strymon warranties its products and their varying components to be free from defects in material and workmanship for the following periods of time from the original date of purchase when purchased from an Authorized Strymon Dealer:
- Effects Pedals
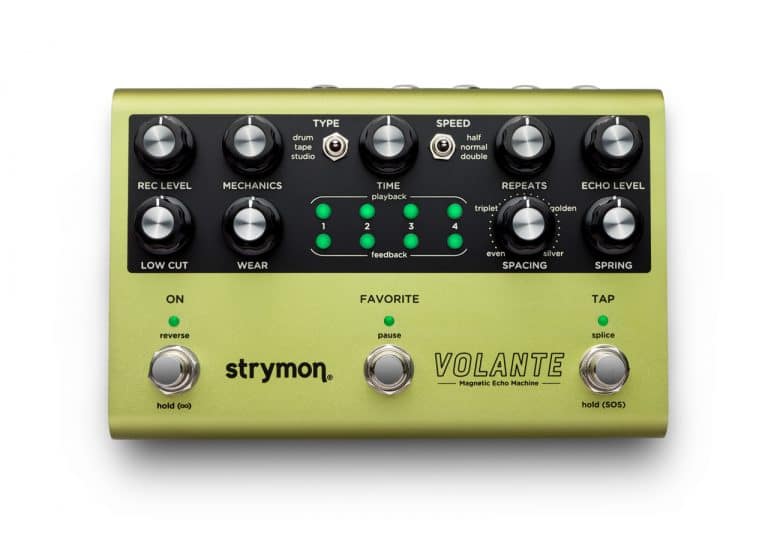
- 2 Years – BigSky MX, blueSky v2, Brig, Canoga, Cloudburst, Compadre, Deco v2, DIG v2, EC-1, El Capistan v2, Fairfax, Flint v2, Iridium, Lex v2, NightSky, Riverside, Sunset, TimeLine MX, Ultraviolet, Volante, Zelzah
- 1 Year – BigSky, blueSky, Brigadier, Deco, DIG, El Capistan, Flint, Lex, Mobius, OB.1, Ola, Orbit, TimeLine
- Eurorack Modules
- 2 Years – AA.1, Magneto, StarLab
- Power Supplies
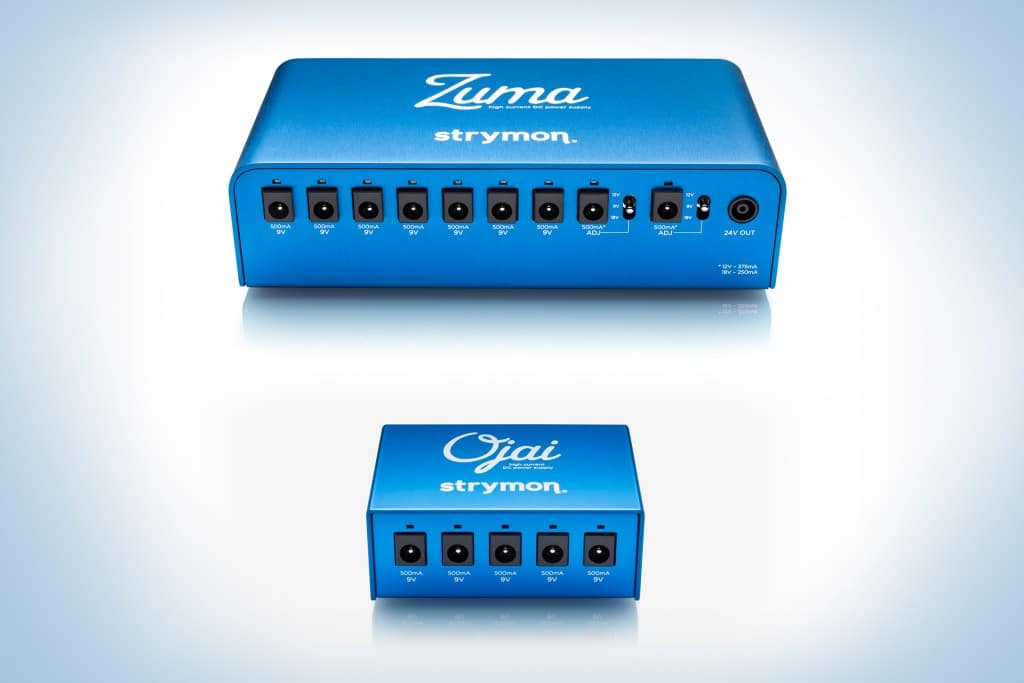
- 5 Years – Zuma, Zuma R300, Ojai, Ojai R30
- 1 Year – Factory power supplies for pedals
- Accessories
- 3 Years – PCH
- 2 Years – Conduit
- 1 Year – MiniSwitch, MultiSwitch Plus, original MultiSwitch, MIDI EXP Cables, DC Power Cables, EIAJ-05 Link Cables, 24V Power Adapter for Ojai/Ojai R30, Polarity Reversal Adapters, Voltage Doubler Adapters, Daisy-Chain Power Cables
If the product fails within the warranty period, Strymon will repair or, at our discretion, replace the product at no cost to the original purchaser.
Exclusions
This warranty covers defects in manufacturing discovered while using this product as recommended by Strymon. This warranty does not cover loss or theft, nor does the coverage extend to damage caused by misuse, abuse, unauthorized modification, improper storage, lightning, or natural disasters. Damage caused by any of the above circumstances may result in a non-warranty repair fee.
Products that were purchased from an unauthorized dealer are not covered under warranty. The warranty is non-transferrable and does not cover used or second-hand products.
Products purchased outside of your country (sales channel) have a warranty inside the country it was purchased ONLY and is not valid outside of the country it was purchased. Please contact your dealer for information on warranty and service outside of the USA and Canada.
Limits of Liability
In the case of malfunction, the purchaser’s sole recourse shall be repair or replacement, as described in the preceding paragraphs. Strymon will not be held liable to any party for damages that result from the failure of this product. Damages excluded include, but are not limited to, the following: lost profits, lost savings, damage to other equipment, and incidental or consequential damages arising from the use, or inability to use this product. In no event will Strymon be liable for more than the amount of the purchase price, not to exceed the current retail price of the product. Strymon disclaims any other warranties, express or implied. By using the product, the user accepts all terms herein.
How to Obtain Service Under this Warranty
For North American customers: Contact Strymon through our website at https://www.strymon.net/support for Return Authorization and information. Proof of original ownership may be required in the form of a purchase receipt.
For Customers Outside the USA and Canada: Contact the Strymon dealer from which the product was purchased from in order to arrange warranty repair service.